


HOW DO I OPEN AN ACCOUNT?
You can open an account if you are a registered entity in the United Kingdom and associated territories.
https://sales.signup.paidbybank.com/
The “Add your details” page is where the details of the business can be added.
Enter the company name or company’s registration number in the “Registered company name or number” text box.
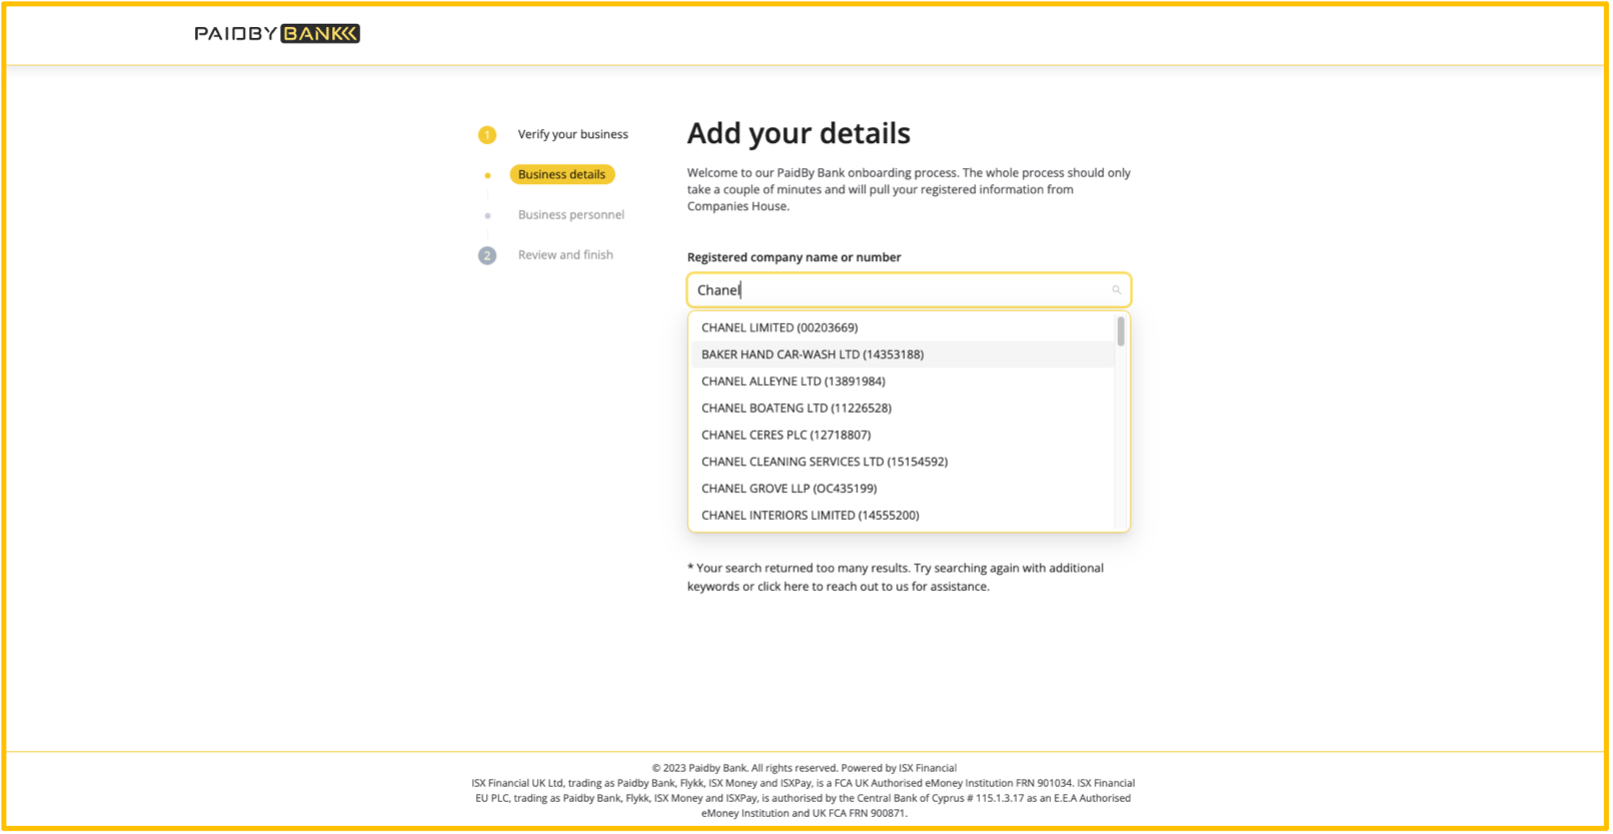
Upon entering the first few letters of the business name in the text box, the system attempts to match the entered text to existing businesses from the Companies House database.
The system will then load all company details into the text box.
Registered Address
Begin by completing the “Registered address” field in the “Add your details” page.
Upon entering the first few letters of the registered address in the text box, the system attempts to match the entered text to addresses from Google.
The system lists all matching street names in the text box, in an attempt to populate the field. Select the relevant address.
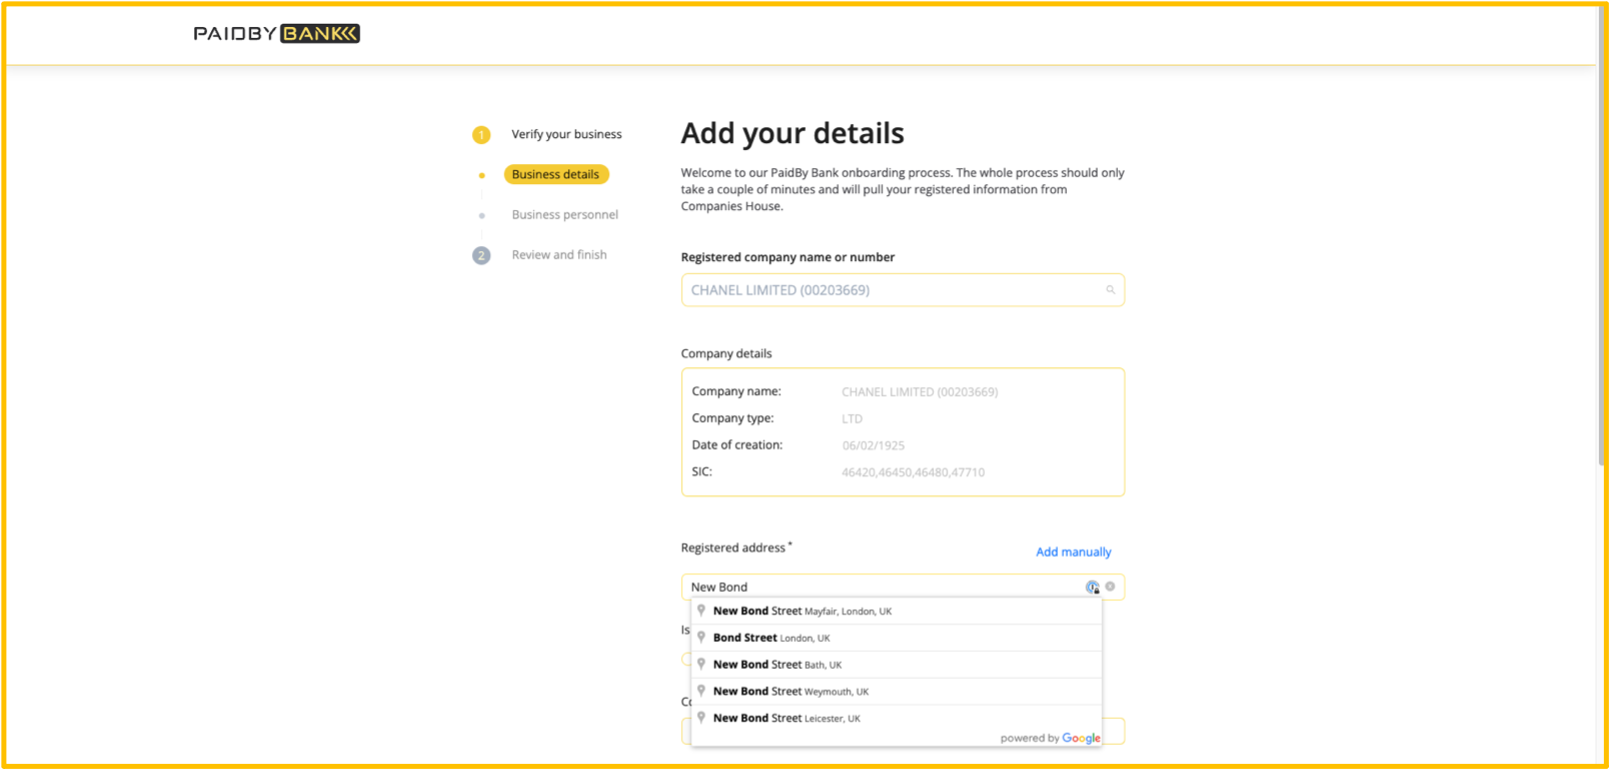
When the relevant address has been clicked, a green tick will appear in the “Registered address” field.
Alternatively, click on the “Add manually” button to display all address-related fields.
Complete final company details. 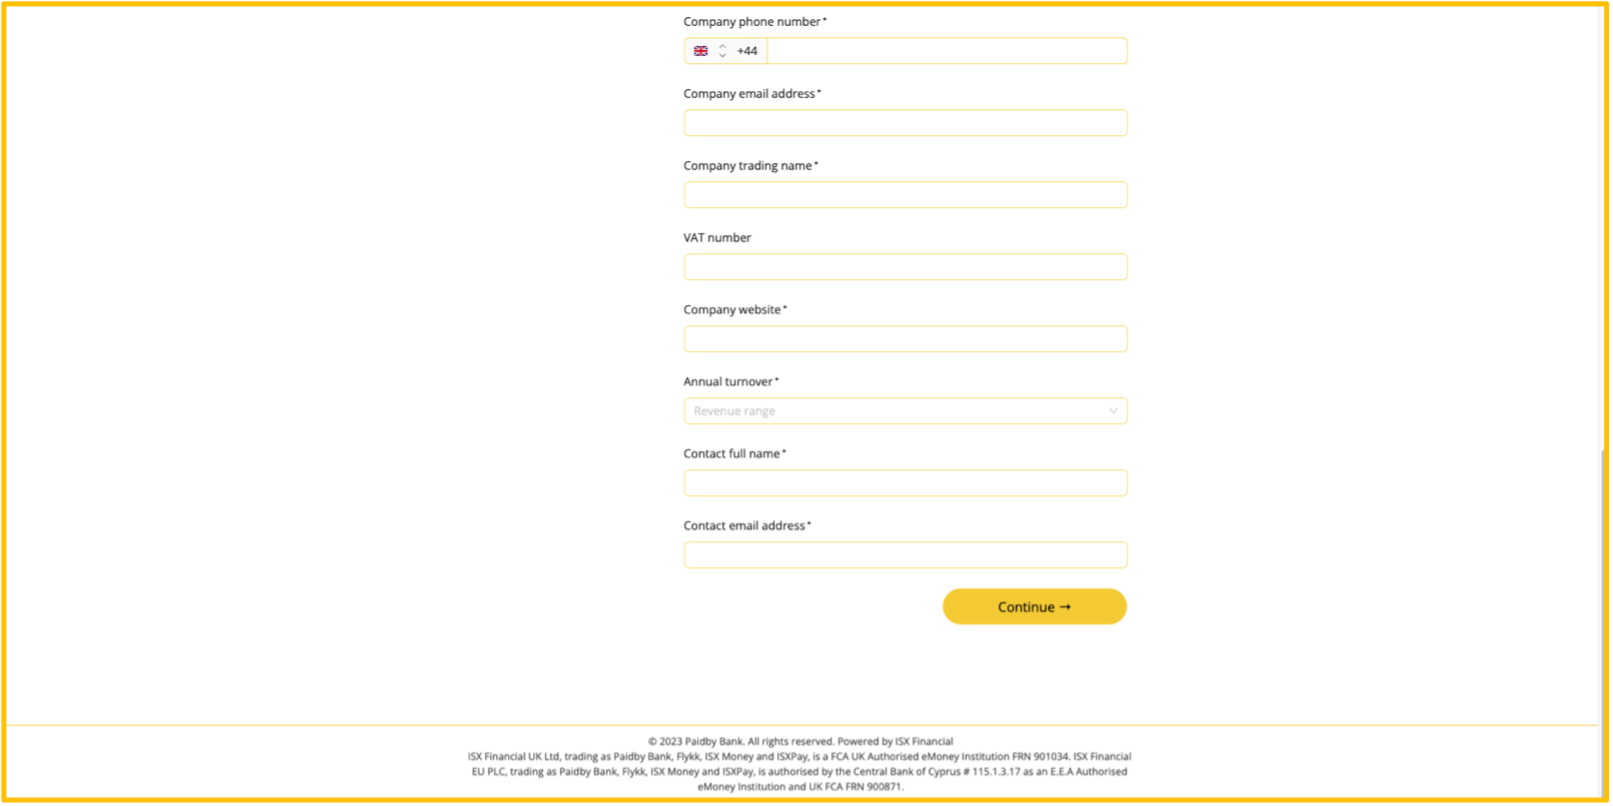
Clicking on the “Continue” button of the “Add your details” page and assuming that all the required data has been entered correctly, the system will return with a list of owners, directors, and secretaries associated with the entered business in a page entitled “Business personnel details”.
As per the series of figures below, there may be directors or owners and secretaries.
The “Business personnel details” page allows users to view the personnel for the purposes of the registration process.
Simply click on the ‘down arrow’ to expand the section and reveal the details of the relevant personnel.

Complete all of the required fields.
Upon entering the first few letters in the “Registered address” textbox, the system attempts to match the entered text to addresses from Google.
The system lists all matching street names in the textbox, in an attempt to populate the field.
Repeat the above process for all of the relevant personnel listed on the “Business personnel details” page.
One of the owners will be required to complete a £5.00 payment check to verify the bank details.
External Signatories
The purpose of this option is to allow you to add an additional account signatory to your account. This can be left blank. If you wish to proceed with adding an additional signatory, click on the ‘plus’ to expand the “External signatories” section and reveal the relevant personnel.
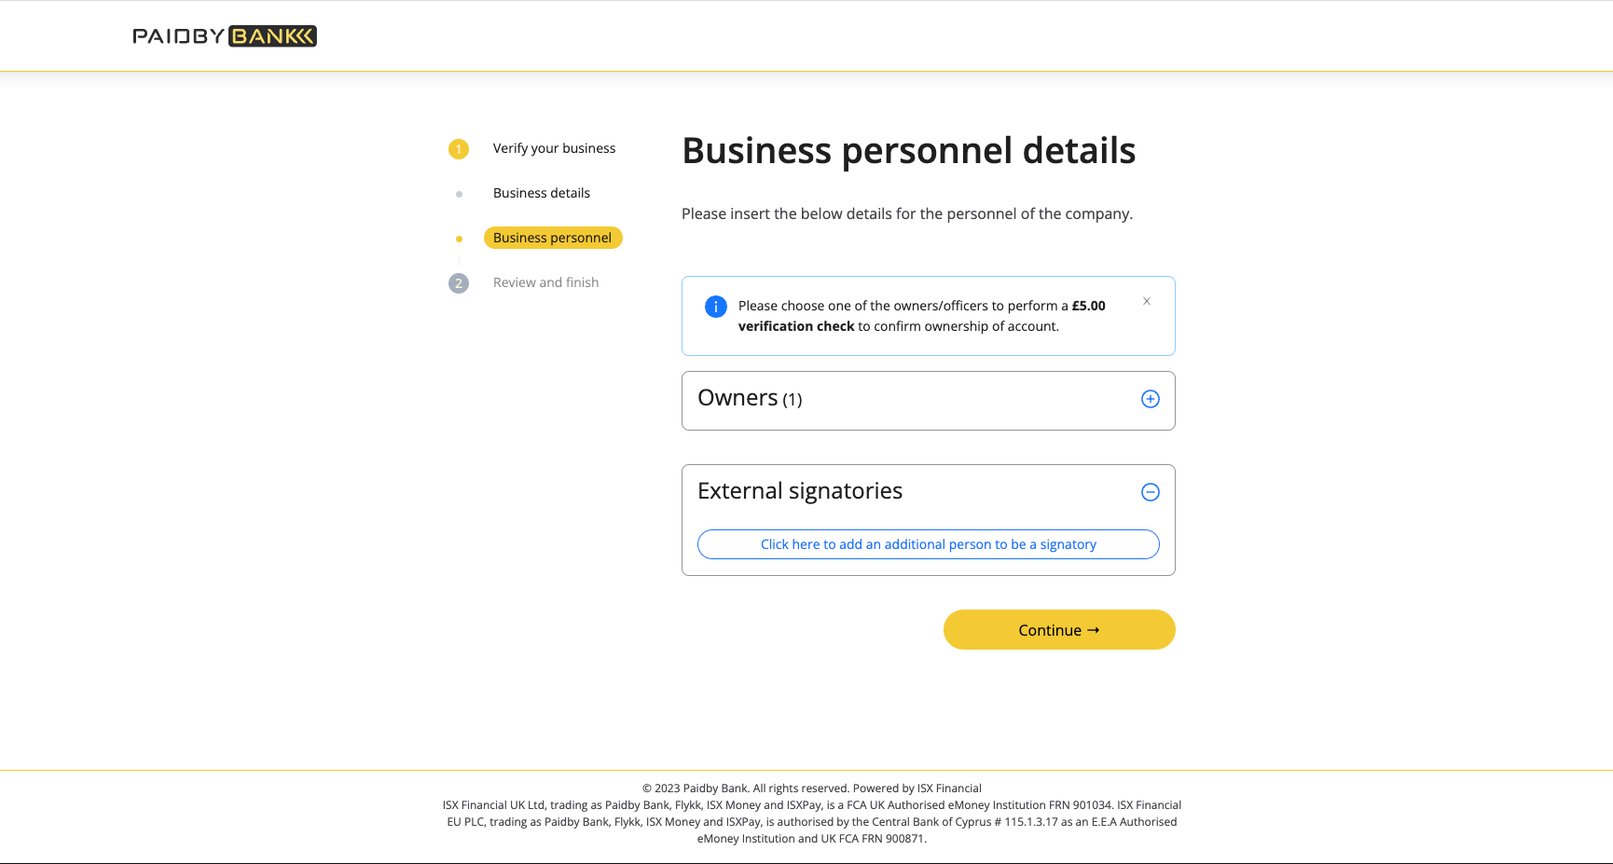
To add external signatories, click on the “Click here to add an additional person to be a signatory” and complete all of the required fields.
Having clicked on the “Continue” button of the “Business personnel details” page, the “Review and finish” page will be displayed to the user.

On the “Review and finish” page, a user has the opportunity to review the data entered so far.
In essence, a user may view and edit this data.
The “Review and finish” page is divided into two sections: the “Business details” section and the “Business personnel” section.
Business Details
Click on the relevant ‘down arrow’ to expand the “Business details” section and reveal the details of the relevant business.
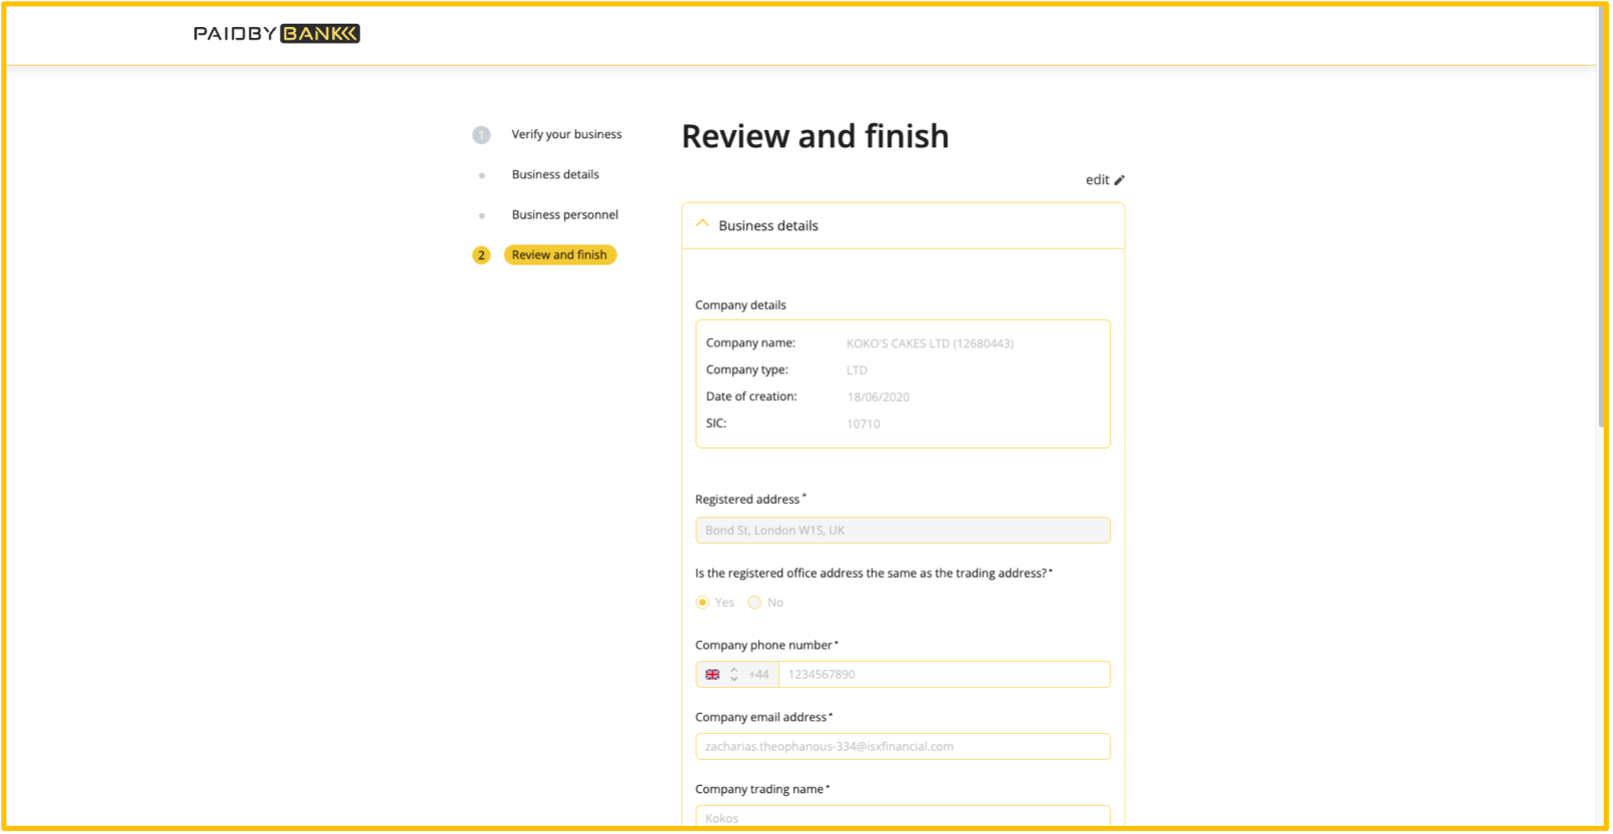
If any modifications have been performed in the data housed in the “Business details” section, click on the “save” button to retain those changes.
Business Personnel
Click on the relevant ‘down arrow’ to expand the “Business personnel” section and reveal the details of the relevant business personnel.
Then, click on the ‘plus’ to expand the section and reveal the relevant personnel.
Then, click on the ‘down arrow’ to expand the section and reveal the details of the relevant personnel.
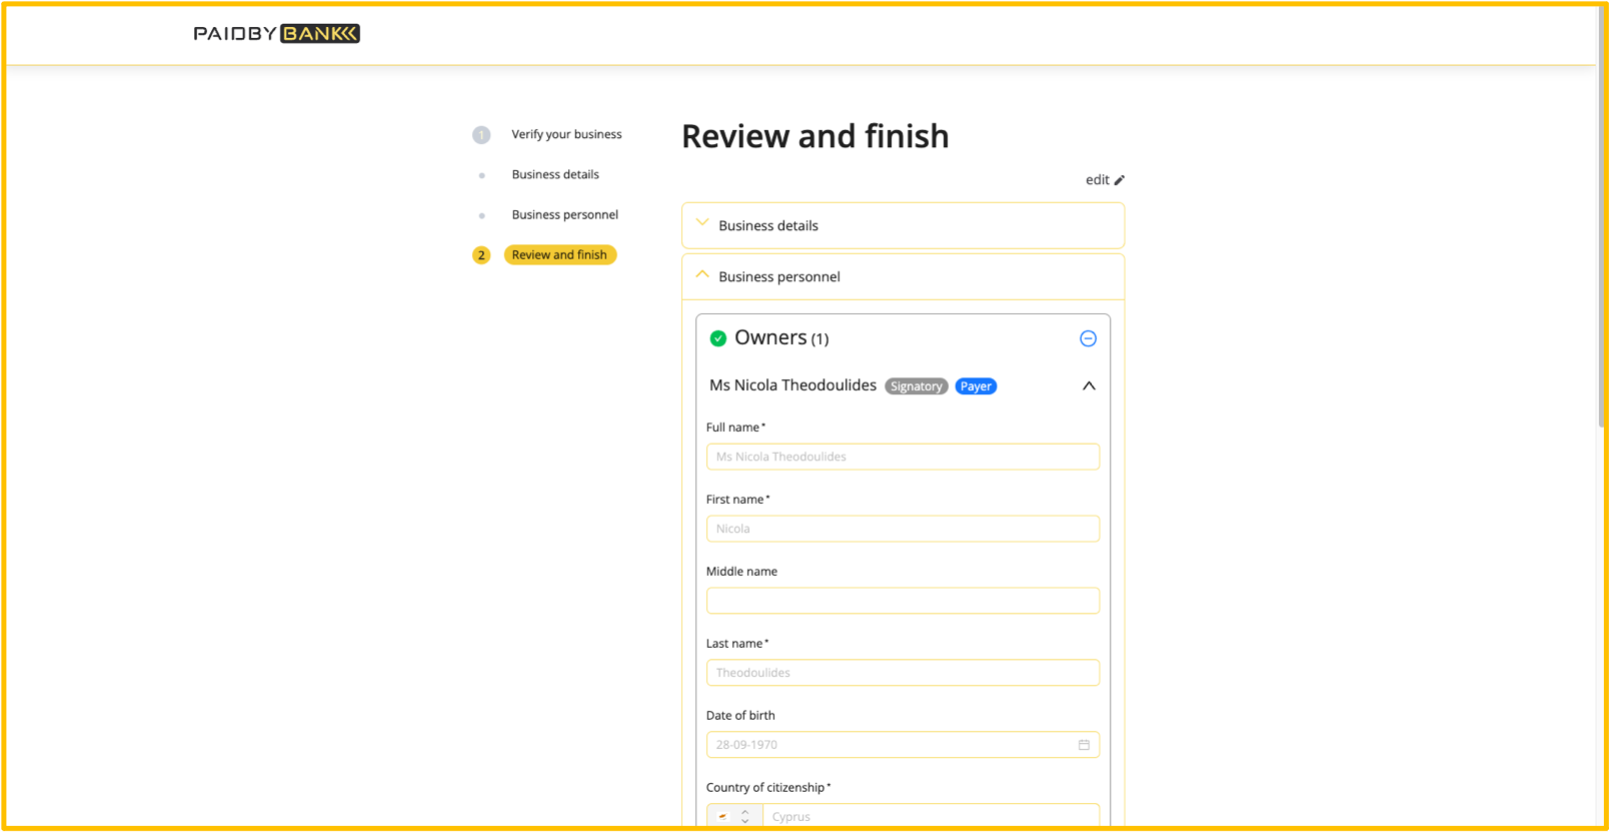
Review the data housed in the “Business personnel” section and click on the “edit” button to perform any necessary modifications.
If any modifications have been performed in the data housed in the “Business details” section, click on the “save” button to retain those changes (refer to Figure 40).
Having reviewed the data on the “Review and finish” page, click on the “Submit application” button to continue.
Clicking on the “Submit application” button of the “Review and finish” page, a ‘processing’ page similar to the following figure will be displayed to the user.
Once all of the required data has been submitted successfully, an email is then sent to the business personnel listed whose details could not be automatically verified.
The email includes instructions for these persons to complete an identity verification check. This process is all completed online, and only requires 1-2 minutes to complete.
This check is required to be completed by all required members in order to proceed with the application.
The verification status page is the next step in the process and displays which of the officers have completed their online checks.
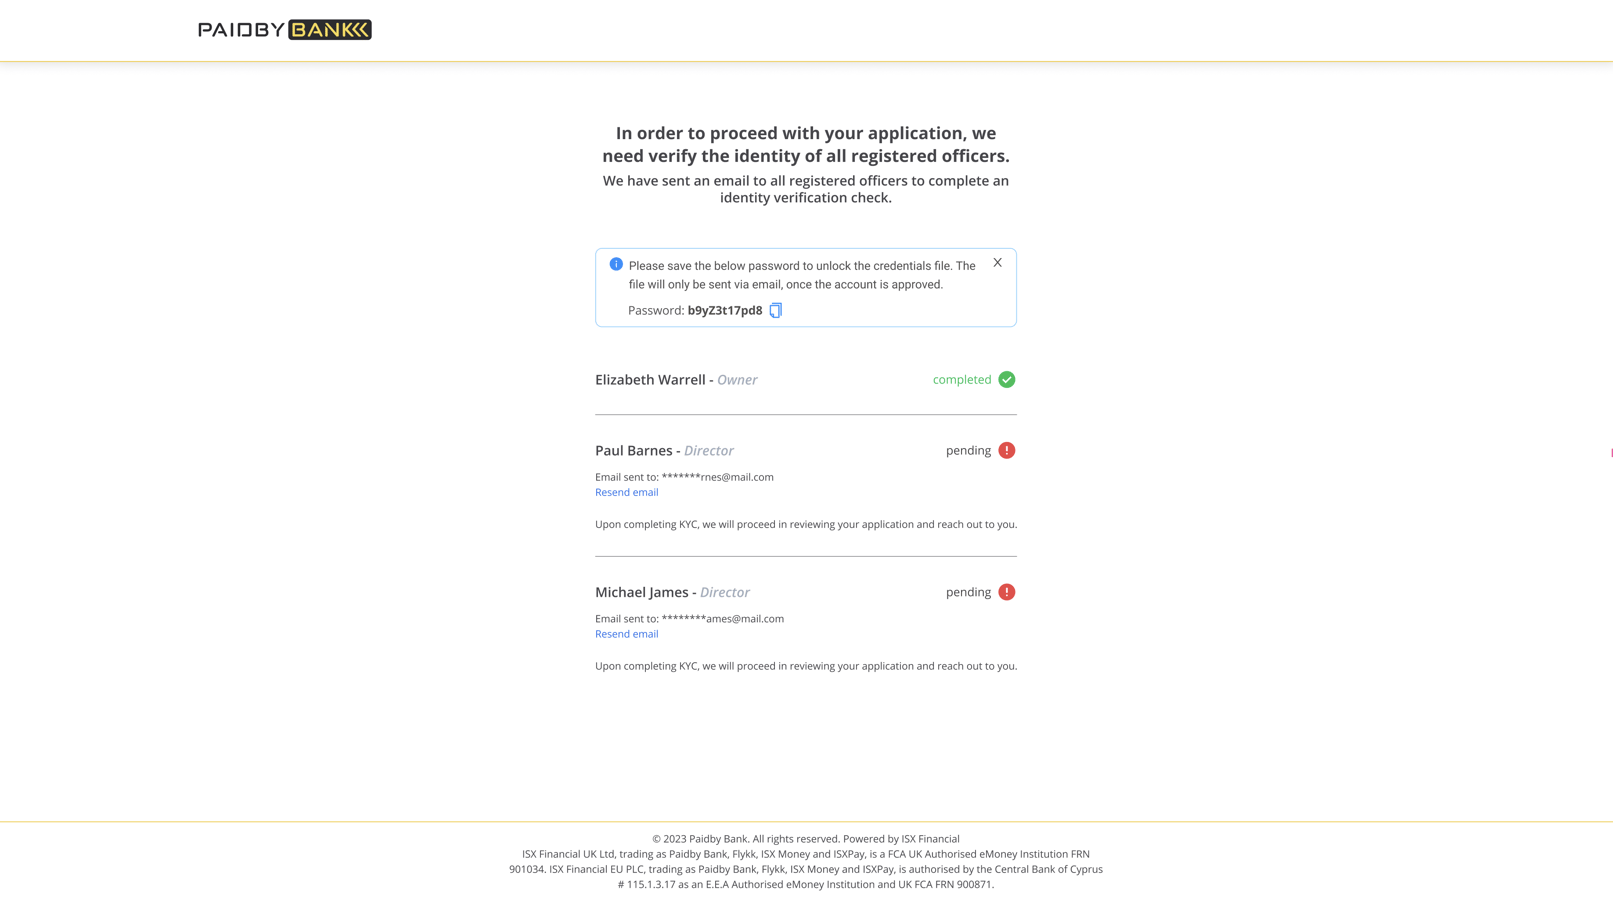
The status page includes a password. This password must be saved/stored for use later on. If you do not save this password, you will not be able to retrieve it later. The password will be used to open the PaidBy Bank credentials that are used to enable the service with WIX.
Once you have completed the application process, the contact person entered in the application form will receive an email with link to follow on the progress of personnel verification.
Anytime you have any questions, feel free to reach out to our support team at success@paidbybank.com.
If you encounter any issues opening an account, you can get in contact with us on our support page where are team of professionals will be on hand to help. Please visit us at: https://www.paidbybank.com/support
WIX Integration
Integrating PaidBy® with your WIX dashboard is really simple.
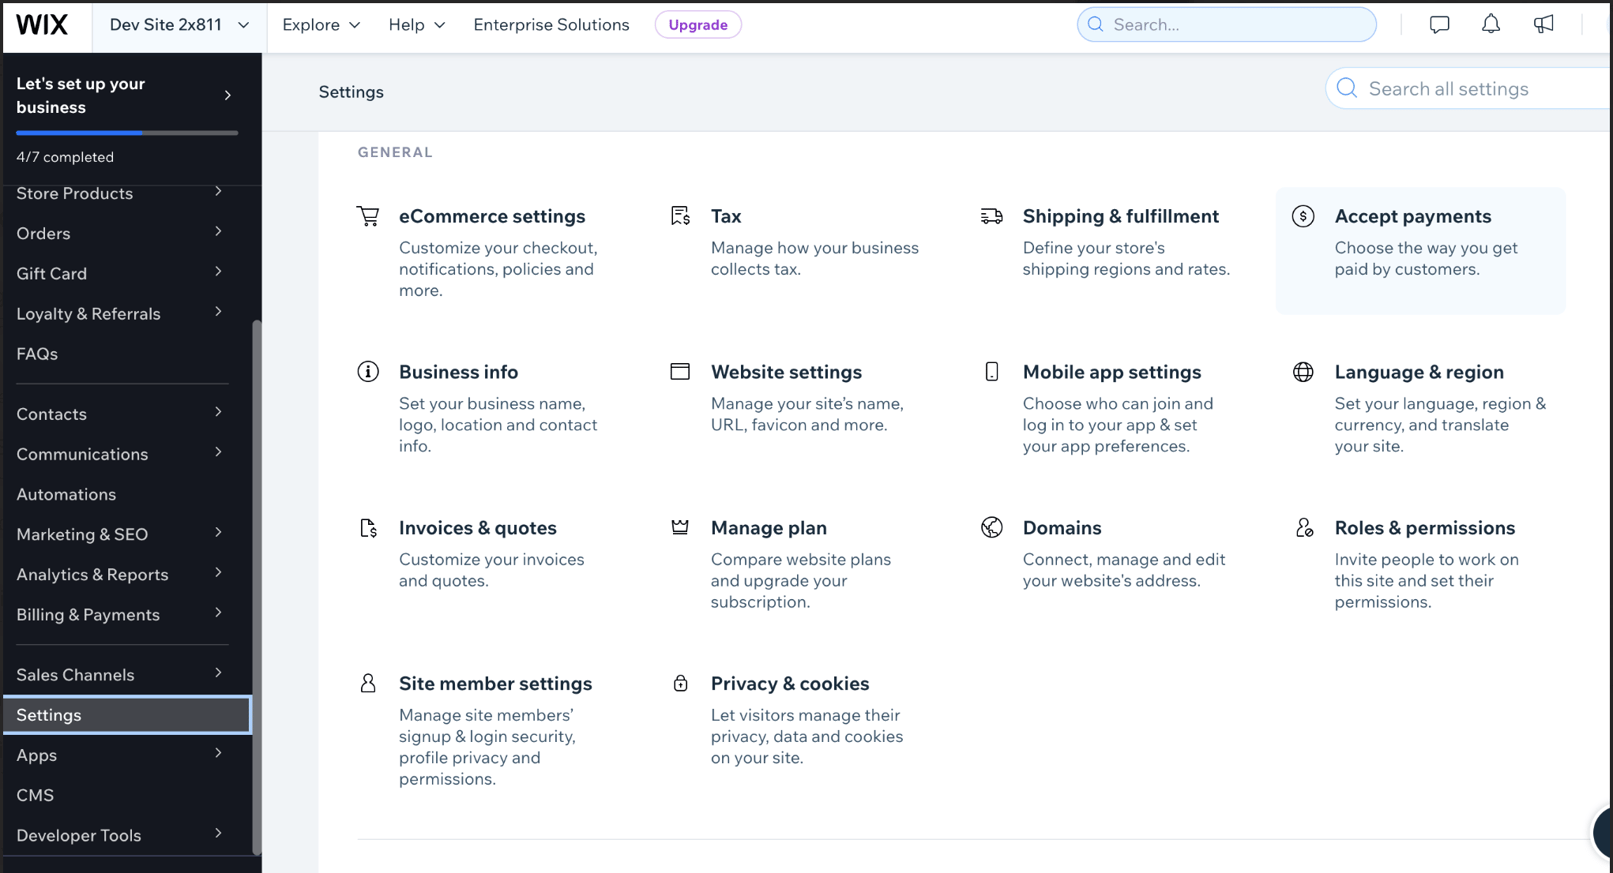
- On WIX dashboard, head to “Settings”, and select “Accept Payments”
- In the list of “Payment Providers”, select "PaidBy® Bank"
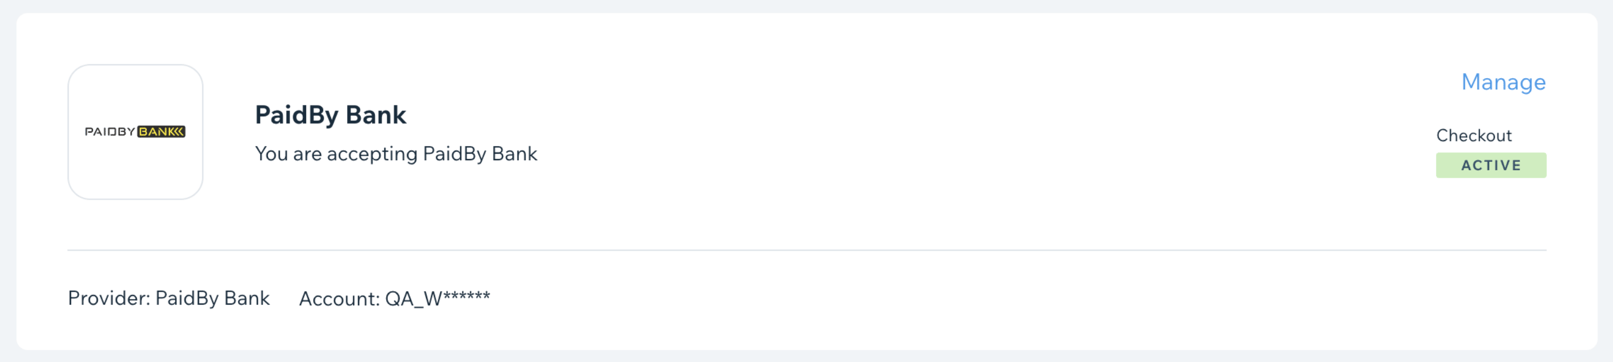
3.Enter the credentials provided to you at the end of the onboarding process.
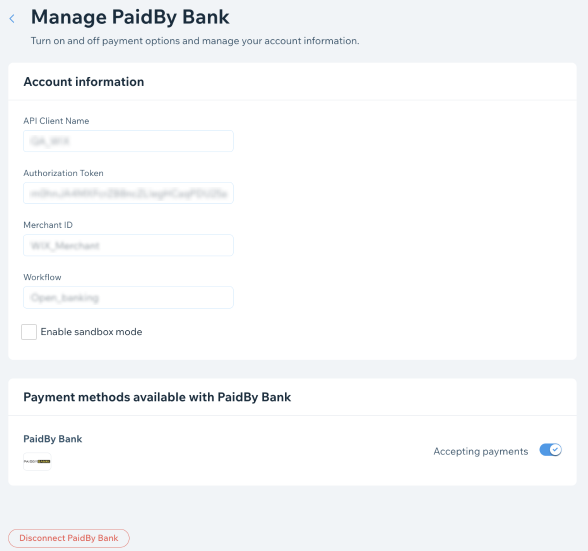
Please ensure the “Enable Sandbox Mode” remains unchecked.
If you encounter any issues opening an account, you can get in contact with us on our support page where our team of professionals will be on hand to help. Please visit us at: https://www.paidbybank.com/support
If you encounter any issues integrating, you can get in contact with us on our support page where are team of professionals will be on hand to help. Please visit us at: https://www.paidbybank.com/support